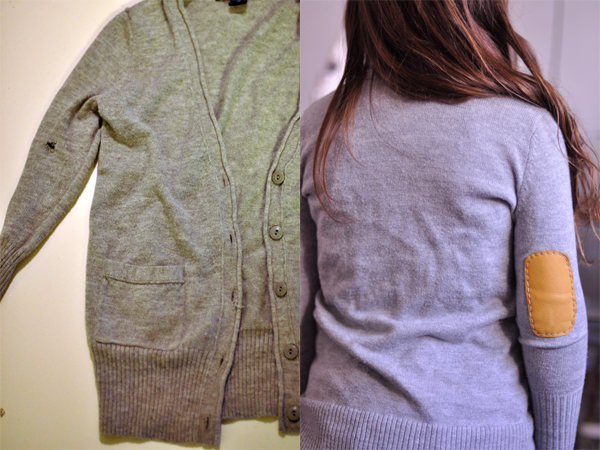
I shared this video a couple of months ago on Babble, but I thought I would share it here as well. Anyone else getting the fall purge your house urge? I feel like I’m organizing closets and underneath sinks and I’m throwing out everything! I always get this way in the spring and in the fall. Do you?
Category: tutorials
How to Sew Leather Elbow Patches onto your Cardigan and Sweater
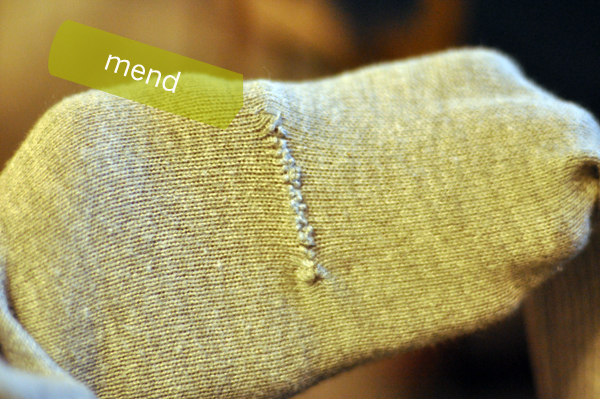
If you have any holes, you will want to darn those first. I demonstrate how to darn jeans here. It is basically the exact same technique.
Pick a thread or yarn color that matches and sew in and out of stitches.
For the part of the sweater that would go under the patch, I just mended the hole, quick and simple whip stitch.
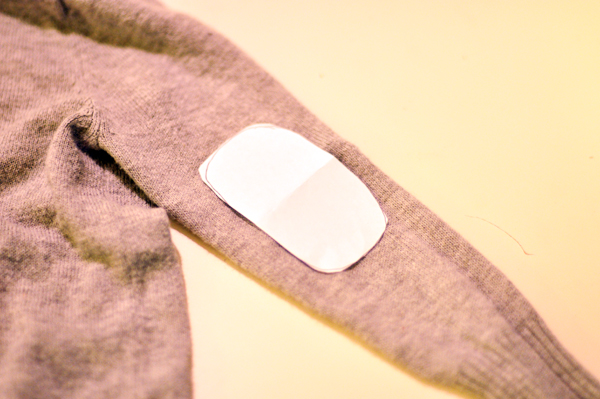
I then figured out what size I would want my patch to be on the elbow. I completely free handed this part. I simply cut a piece of paper until I thought that it looked like a good shape/size and used the piece of paper to trace and cut out my leather pieces.
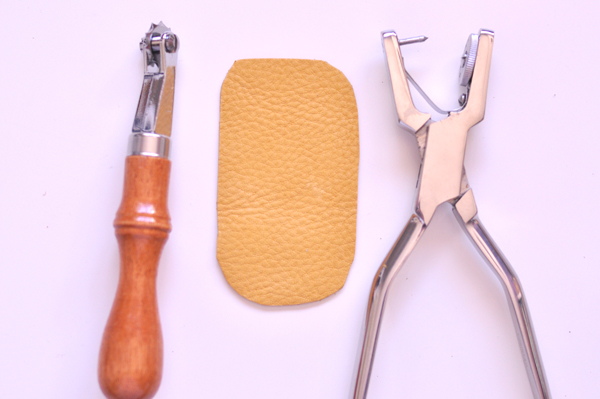
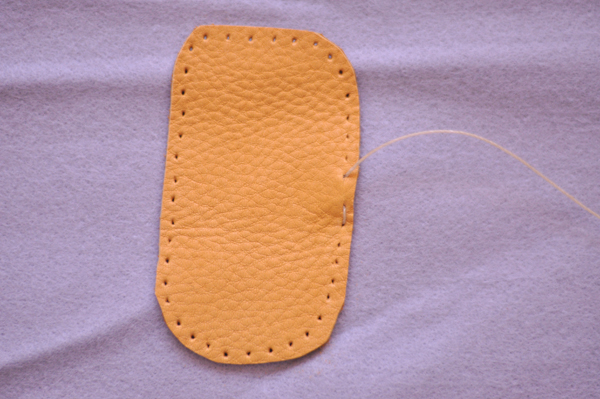
Now you will want to punch holes in your leather pieces.
Walk a stitch spacing tool along the edge of the leather and then punch the holes where you’ve marked.
Pin your patches in place.
Start the needles side by side, both coming up. Traditionally, you would start one going up and one going down, however because you are sewing leather to knit, you will want the stability of the needles coming up through the leather.
Tuck your thread ends under the patch, they will be covered by the sewing.
Playing follow the leader, each needle will want to pass through each hole.
Here is the inside of my finished patch. I’m going to cover my patch using a really light fusible interfacing. This will keep the rough linen thread off the skin.
Cut your interfacing a little bigger than your stitches and tuck your thread ends in.
Fuse the interfacing to your sweater using a hot iron. Turn right side out and enjoy
How to Make a Swaddle Blanket
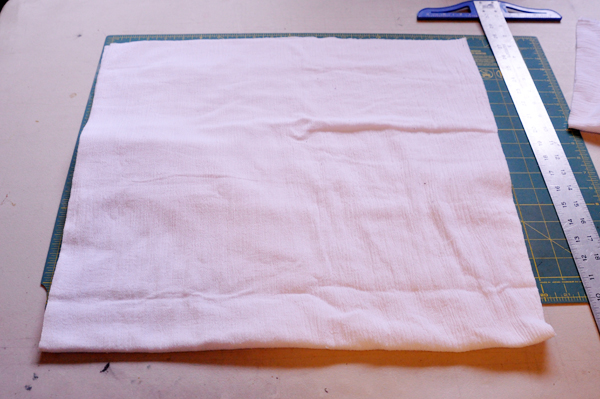
Start with a yard and a quarter of fabric. You are going to want to find this light open weave cotton that had a lot of stretch in it.
Cut your piece 40 x 40 square.
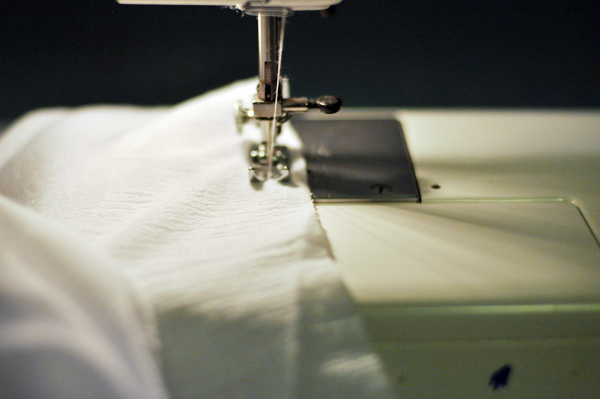
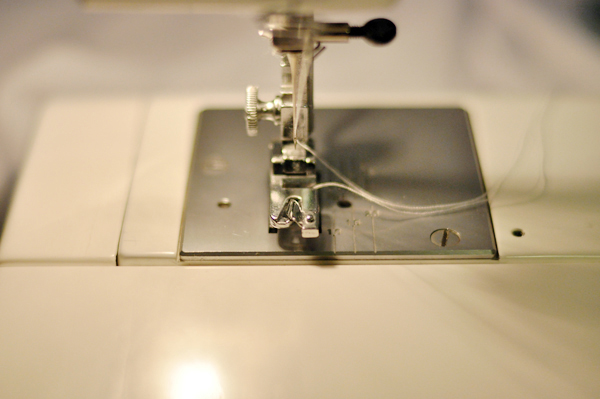
Begin by sewing a basting stitch.
You will want to baste all four sides of the blanket.
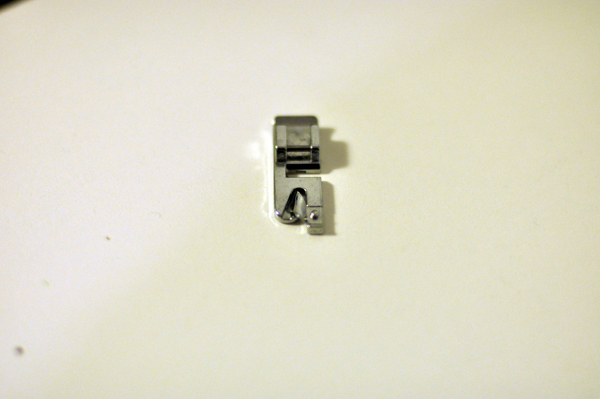
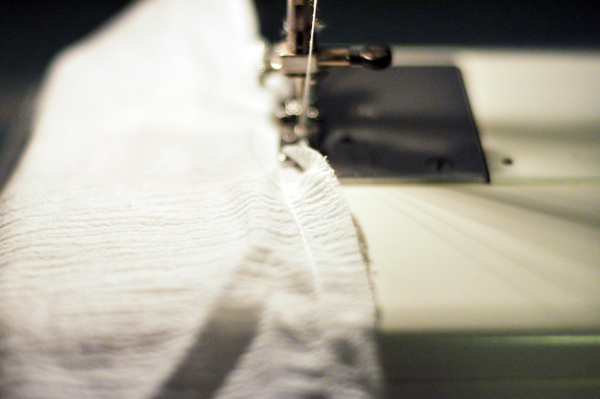
Sew a rolled hem around all four sides.
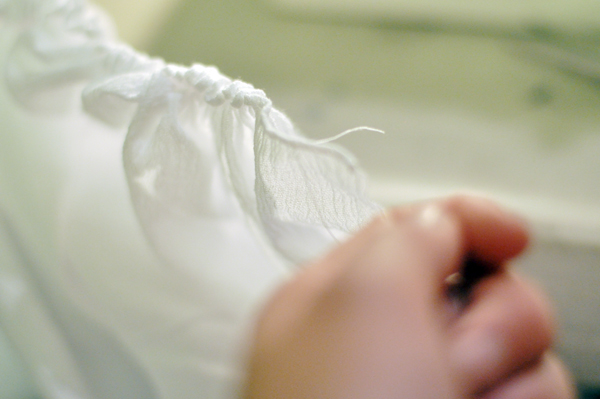
Remove your baste stitch and voila swaddle blanket.
I wash mine after I sew, this fabric is a little temperamental and you will want the factory stiffness to help along in the process.

