Category: tutorials

How to Sew a Rolled Hem

Have you ever checked your sewing machine drawer and wondered what the heck is this foot with the circular thingie on the end? It’s your rolled hem foot, it’s super easy to use!

Rolled hems are very narrow hems, much narrower than you could achieve on your own. They are great for finishing blankets, napkins, table cloths or any apparel that would require a narrow hem.

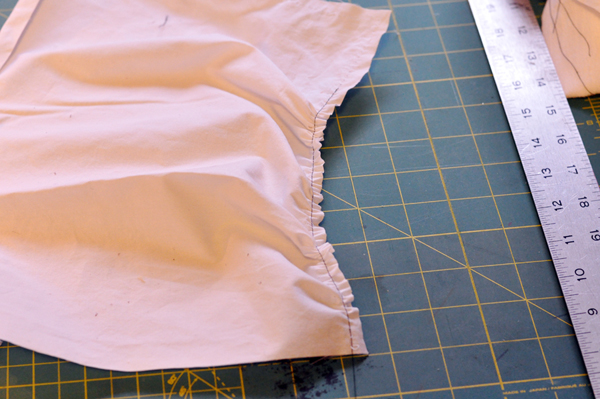
Start by folding in your raw edge. I try to keep it at around 1/8 of an inch.


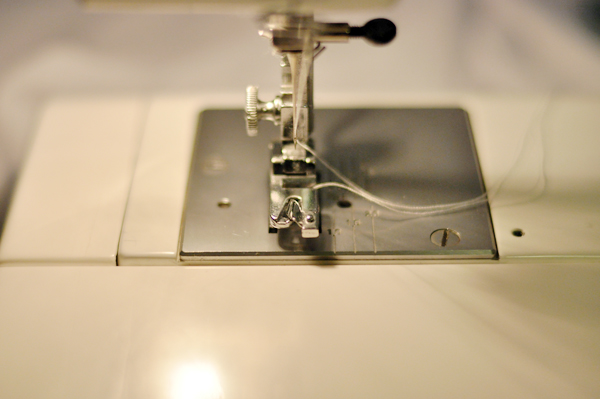
Slide that start under your foot.

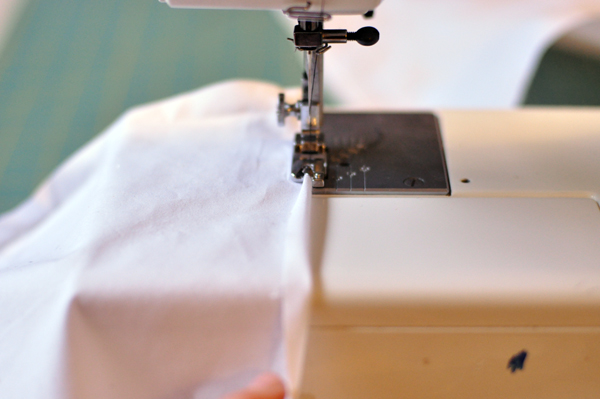
Start stitching and your foot will automatically pick up the raw edge and roll it for you, nice and tight.

Nice even rolled hem.

How to Sew a Basting Stitch, How to Machine Baste

Basting stitches are long removable stitches sewn either by hand or machine. A basting stitch is a really good technique to know. For example, when tailoring and you need to fit a garment or hold a dart, or when sewing slippery or stretchy material, or even to hold a zipper in place.

For machine basting, start with your straight stitch.

Then your longest stitch length.

I tend to use a contrasting thread when I baste, this allows you to easily find the stitch + not rip out your actual seam. Simply stitch your fabric.

Then when you are done with the project, you should be able to pull the stitch right out of the fabric.


How to Make a Travel Scissor Case

Sewing Summit is in two short months! I’m really excited and very nervous. Did I tell you that I’m speaking? Today I’m going to share a tutorial with you as part of their Travel Handmade series. 

Travel<br />
Handmade with The Sewing Summit

This post is part of the
Travel Handmade series, for more great travel bag posts click here!

This tutorial is super easy + the best part is that it doubles as a work apron!

Supplies Needed:
Fabric, 19 x 38 inches
Scissor stash
Bias Tape

Start with your 19 x 38 inch piece of fabric.

Fold in half lengthwise + sew up the three loose ends.

Leaving a small hole to be able to turn the fabric.

Turn the fabric.

Iron flat. You should now have an almost square piece.

Fold one of the ends up + arrange your scissors to be able to mark their spots. Have your hole along the very top, it will be sewn later.

Mark their spots.

Sew spaces for the scissors.

Now sew your bias tape along the top of the apron. I used about 8 yards.

Stuff your scissors,

And roll them up for safe travels. 

  • Follow

  • About

  • Newsletter Signup

    Sign up for insights and deals

  • Shop

  • Archives

  • Separator

  • Sponsors