Makeup Brush Holder Tutorial

Have you been following Dana’s Celebrating MOM posts? If you haven’t shame on you, they are brilliant + very inspiring. Also, if you haven’t been following, you can catch up here.  Today I’m posting over on Dana’s blog about my thoughts on motherhood, go check it out.
Raise your hand if your makeup bag is messy, both hands if you have to dig through it to find your brushes? I do + have needed/wanted a brush holder for some time.

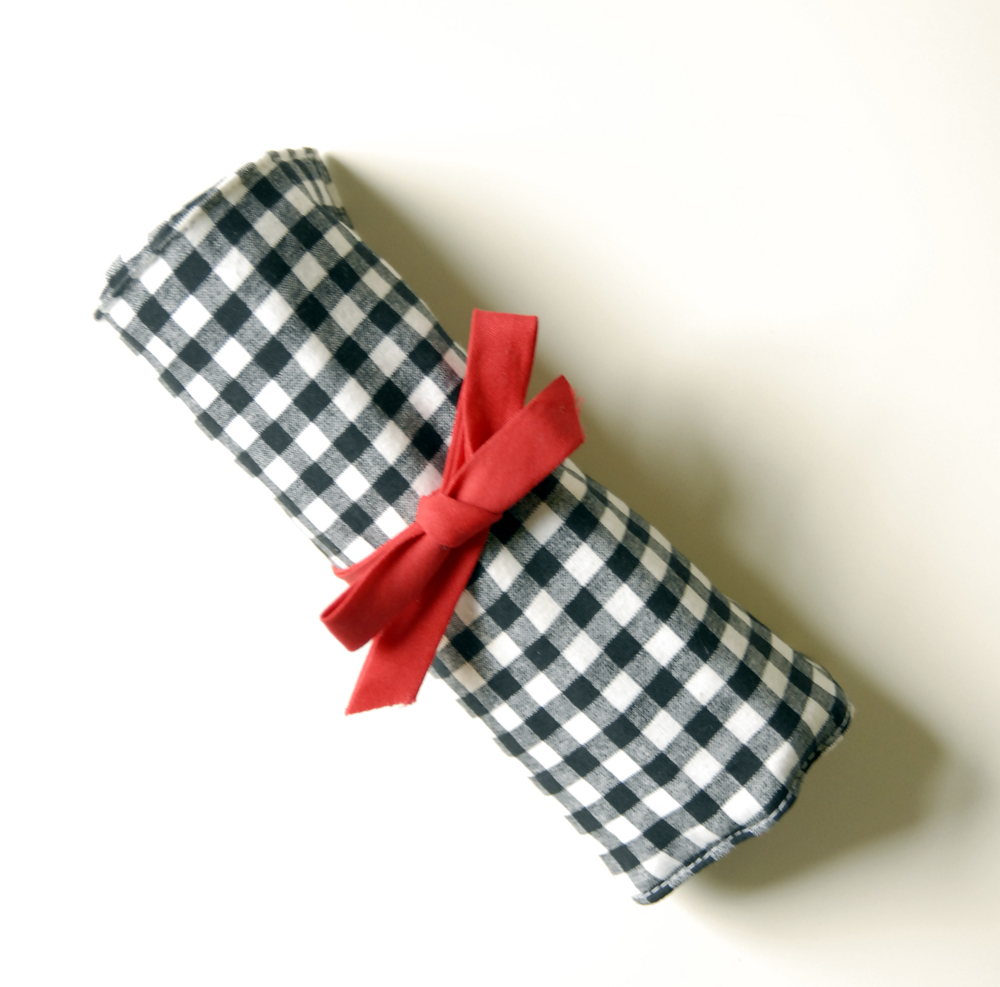
Think of this as your last minute gift idea, you could whip it up next Saturday right before Mothers Day. Seriously, this tutorial is so easy peasy, even if you are a beginner, you can do it in about an hour.
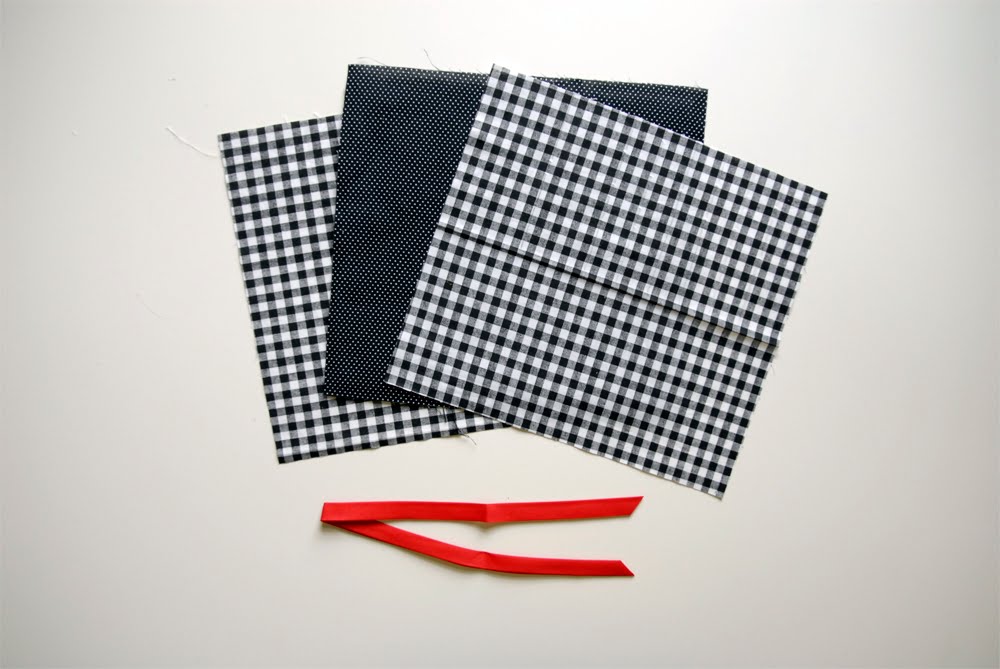
Materials needed:

  • fabric 3 10x11inch pieces – contrasting, coordinating or all the same
  • one piece for lining, one piece for the top + one piece for your brush pocket
  • fusible interfacing 1 9.25×10.25 piece – whatever kind you have on hand
  • ribbon 16-17 inches – or bias tape or whatever you have on hand

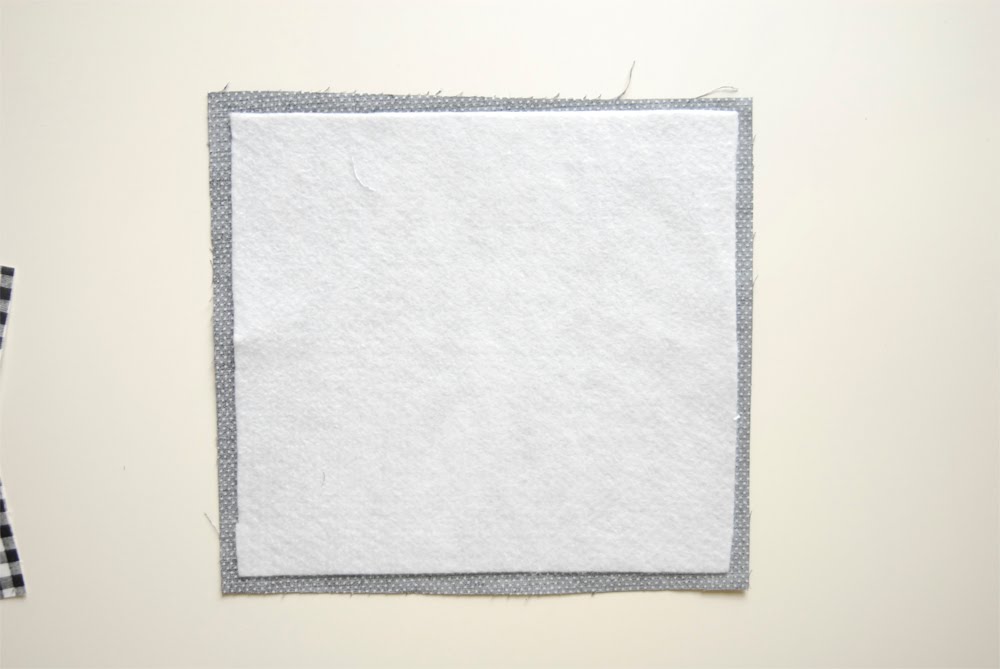
Start by ironing (fusing) your interfacing to the back of your lining piece.

Then iron your pocket piece in half lengthwise, it should now measure 5×11 inches.

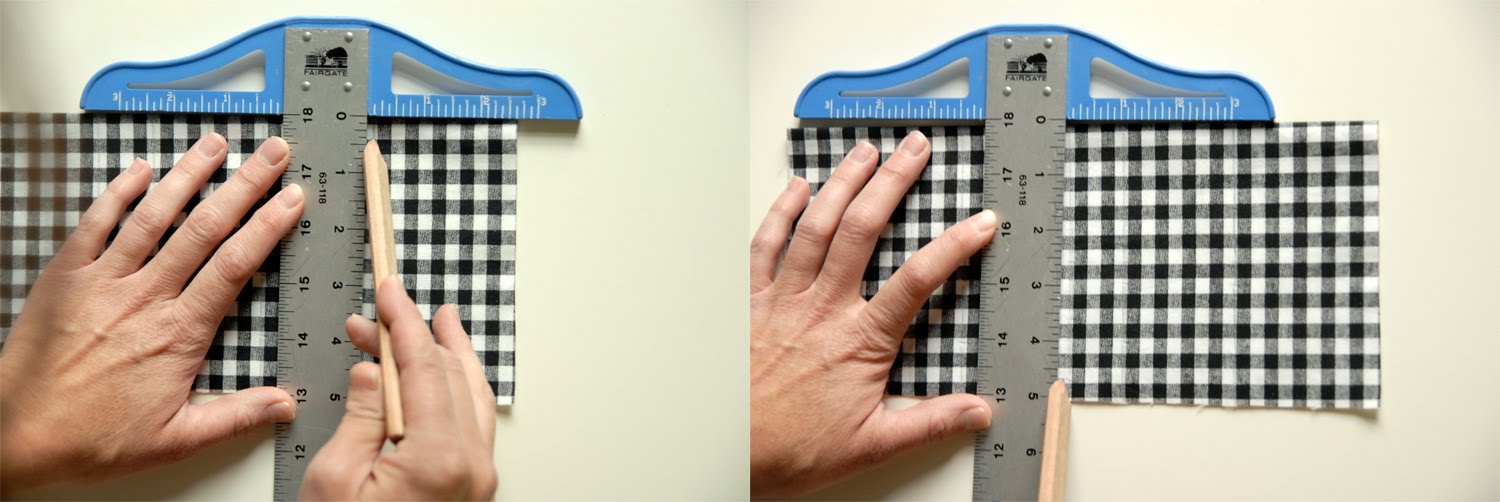
Mark your pocket stitches. The big brushes need about 2 inches of pocket space + the little brushes need about 1 inch. Your pockets should vary depending on what kind of brushes you have.

Give yourself a 1/2 seam allowance on the ends when you mark, if you are doing a 2 inch pocket on the end, then mark your fist pocket at 2 1/2 inches, for the seam allowance. All other pockets mark true to size.

Sew your pockets to your lining.

You don’t have to sew down the edges of the outside pockets, you can if you want, but I always leave mine open + sew them down when I sew the whole piece together.

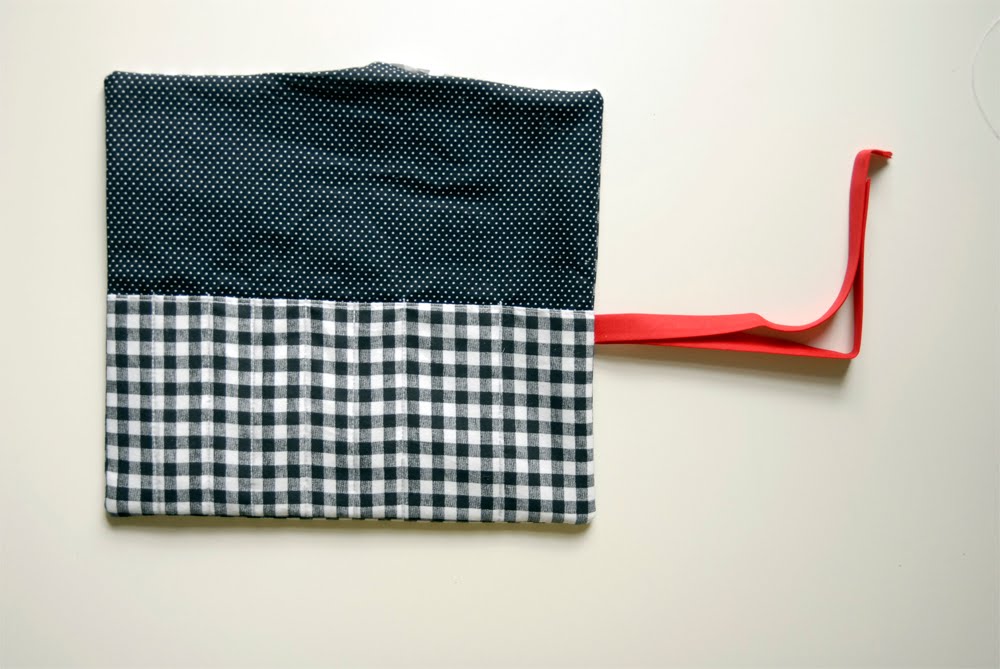
Start with your top piece face up, place your ribbon or bias tape on either side of the top piece about 4 inches from the bottom.

Place your sewn lining + pockets face down on top of your top piece.

Pin your ribbon in place.

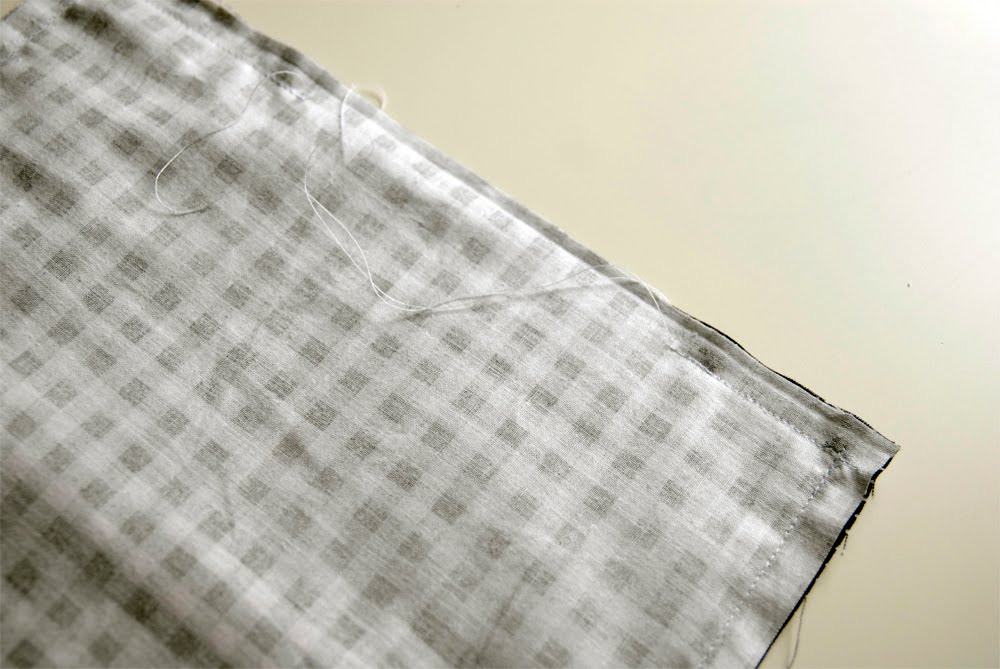
With a 1/2 inch seam allowance, stitch around the entire piece,

leaving a 3-4 inch opening at the top.

Turn right side out.

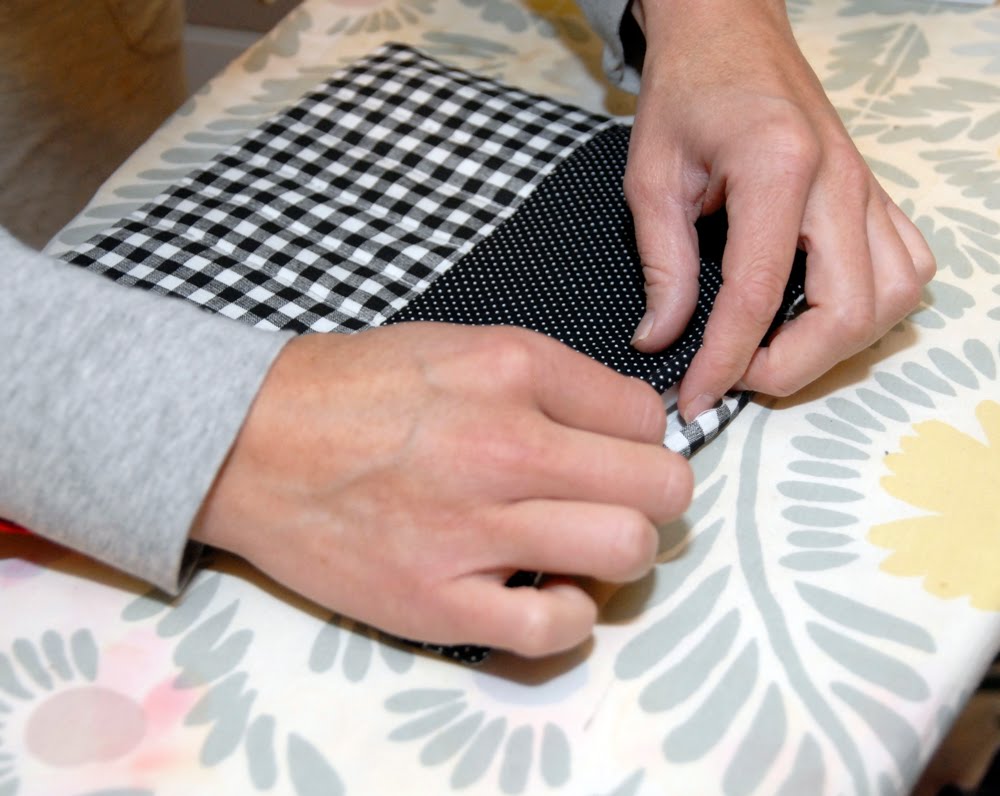
There are so many fancy corner poker outers that you can buy, but I always just use a chopstick.

Poke out your corners.

Tuck under your opening, making it flush

Iron your piece flat.

Use an 1/8 inch top-stitch. See where the seam riper is pointing? If you line your piece up with the inside of that feed dog, that will give you an 1/8 inch stitch.
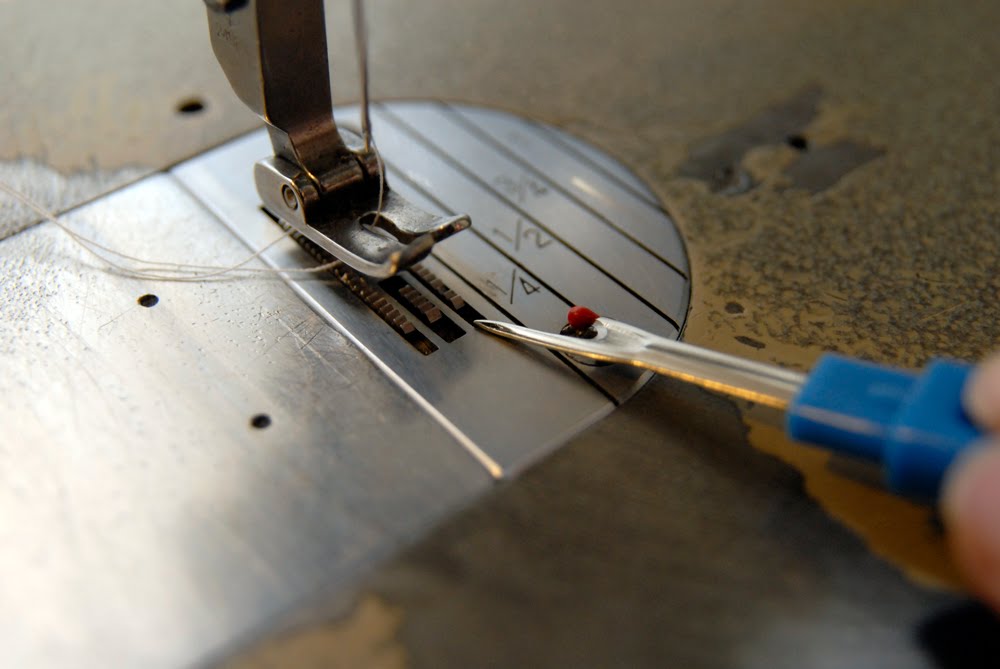
Like so.

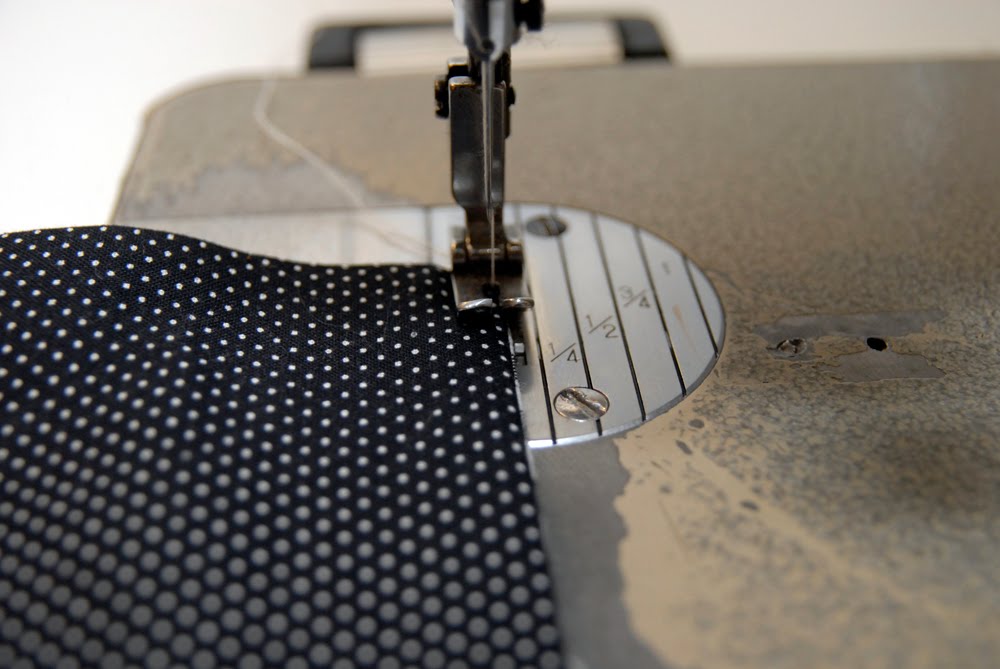
Stitch all the way around the piece.

Fold + iron down the top piece about 2 inches.

Stitch across the top of the folded down piece.

I also stitched one of the edges of the flap down to give it some structure, you can ignore this step or do it.

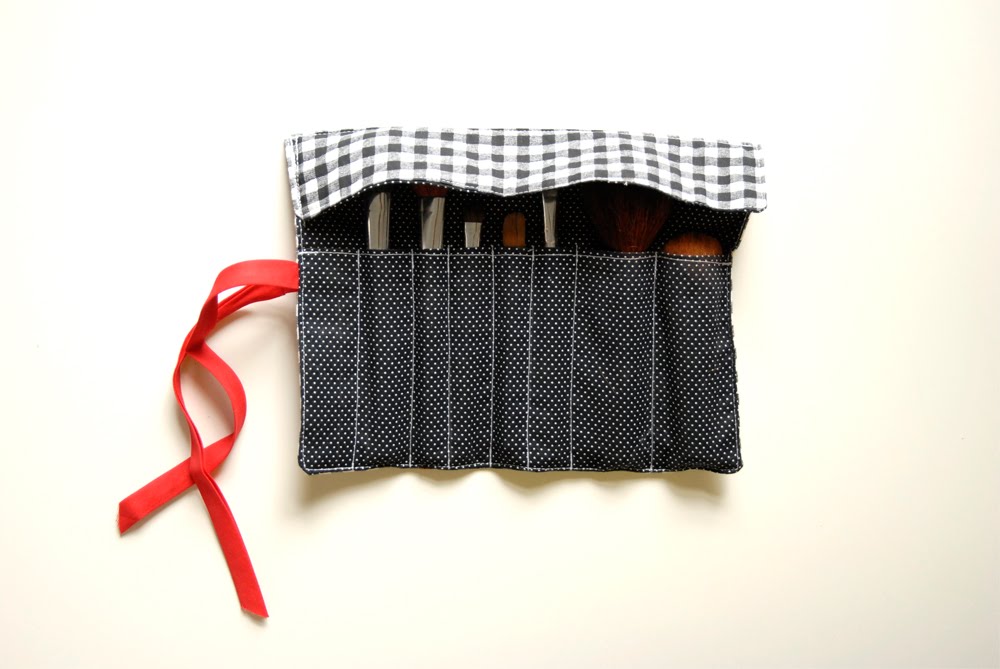
Now fill it with brushes + enjoy!

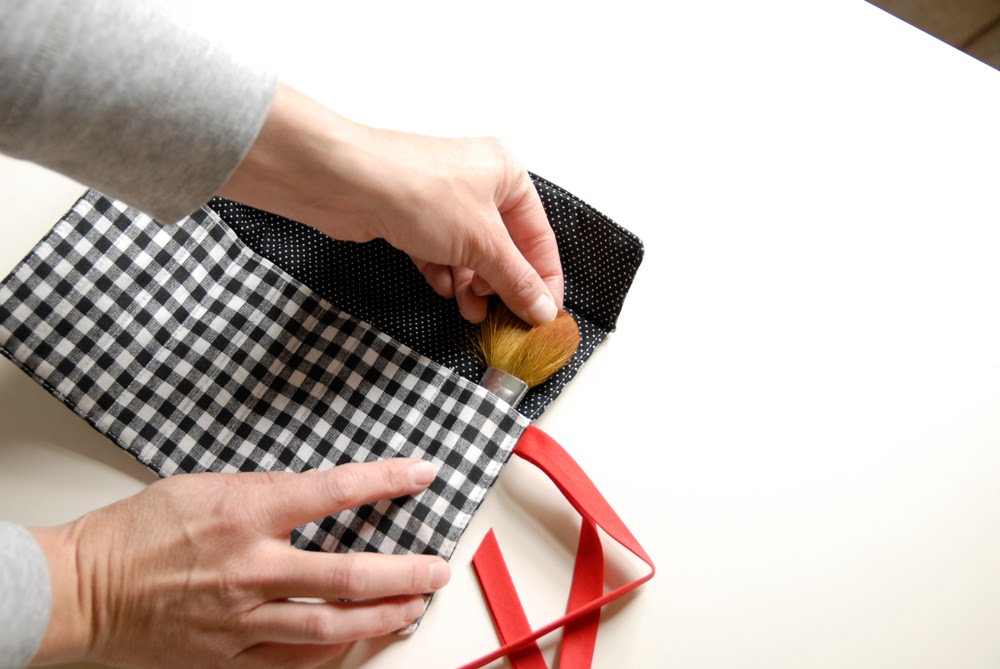
Or maybe if you don’t have enough brushes, you should get some for Mothers Day so you can fill up your holder.

Make one + put it in a prominent place, leaving your husband a hint. Or if your like me, you could make one + hit your husband upside the head with it, for an even better hint.


Comments

  1. Chelsea :
    Wow, I love this. So cute! I'm going to post about this today.
  2. Melissa :
    Great tutorial, Susan! Hope you get some make-up brushes for Mother's Day.
  3. Betty Crocker Ass :
    Seriously. Do you ever get tired of being so truly awesome?

    I almost want to move back to Utah just so I can try and be friends with you...
  4. Sara ‘Izzy’ Dockrell :
    this is amazing. I have a brush set that came with a holder but the holder is ugly and I hate it. This one is far cuter. Now if only I could remember where I put them
  5. casserole :
    Very pretty!! Lovin' the black & white gingham that you used!!

    I scheduled a link to your tutorial on Craft Gossip Sewing to go live tomorrow morning (May 1):
    http://sewing.craftgossip.com/tutorial-make-up-brush-roll/2010/05/01/
  6. .caroline armelle. :
    wow! love it!
    and, i love all your tutorials!

    p.s. are you doing the beehive bazaar this year? hope to see you there!
  7. Crafty Batches :
    Oh my gosh, thank you so much for sharing! My eyes got so BIG when I came across your tutorial, thank you again! ~Sam
  8. Pearpear :
    this is uber chic n not to mention VERY adorable!!!
    one of these days, i m gonna find time to make one....THANKS TO U!!!!
    Appreciate ur tutorial!

    TQ TQ!!!
  9. Lynn Nasir :
    thanks for the tutorial ^^ love it! super cute~
  10. Zona Bosted :
    I like the idea of using it to hit my husband with.
  11. Galimamphigouri :
    I discovered you on Dana's blog and I posted some of your bags on my second blog (with your permission?) because I love them!( http://galimamphigouric.canalblog.com/archives/2010/05/01/17747694.html )
  12. Cayton :
    This was awesome! My sister is a makeup artist and I want to try to make her one!! Thanks for the great tutorial!
    -Cayton
    www.minggusandmoob.blogspot.com
  13. liz stanley :
    great tutorial although now i'm feeling a little self conscious about the fact that i have one makeup brush
  14. saffiertje :
    Great how to... Love your fabric choise!
    Thanx for sharing

    Miranda
  15. newdressaday :
    Oh my gosh! I love it :) I think I know what I'm going to be doing with some of my excess fabric. Gorge!!
  16. Auntie Fafa :
    You have no idea how timely this was - I have been meaning to make one of these all week, but it just kept falling off my to-do list. So, I made one last night in about an hour. This tutorial was just the thing I needed. Thanks so much!
  17. Rialeigh :
    Way cute! Thanks for the idea for mother's day. Your tutorial is awesome, so much detail!
  18. miss infamous :
    I WANT ONE!! :)
  19. kristen :
    i LOVE it!! sooo cute!!!
  20. Tammy Morrill :
    You make it look so easy. LOVE this tutorial!
  21. The Bush League Cook :
    Hi--I discovered your blog through another blog that I follow, and I just love it! I have added to follow and will be back--these are so cute and would make great gifts! Thanks!
  22. Madeline P :
    Like Liz, I also only have one makeup brush. But I was thinking I could stash lip gloss, mascara, and concealer in the other slots.

    Great tutorial!
  23. Jen Rose :
    That is awesome! I'm a makeup artist who spends money ALL the time looking for a great brush holder! Thank you!
  24. Rūta :
    Great thing, thank you for tutorial. love the fabric you used for it!
  25. homespundiva :
    I love love love this! I have so many makeup brushes and these lovely cases are going to just the trick! Thanks for the tutorial!
  26. jackie may :
    i like this .. can you have a giveaway and randomly give me one? thanks. love you're fave baby sis.
  27. Amanda :
    I HAVE to make this for my makeup brushes. Great tutorial. Thanks!
  28. A-C :
    I love this tutorial! I've made a few already and will be putting some in my etsy shop, thanks for the inspiration!
  29. Katie :
    Thanks so much for the great tute! I will DEFINITELY be trying this. When I do, I'll be sure to link up :)miamoodesigns.blogspot.com
    -Katie (hope you stop by)
  30. Rachel :
    I stumbled across your blog by accident, and I LOVE it. I'm going to try and make one of these for my kids' colored pencils (an easy way to slip them in my purse for restaurants etc.) Thanks so much for sharing your creative ideas
  31. SarahJarnagin :
    I made mine tonight and it was so easy! Thanks for the great tutorial!
  32. Che Birba :
    Hi I'm Laura from Italy...

    I love this project, is easy and useful!

    Laura from Italy http://chebirba.blogspot.com
  33. organic cosmetics :
    I think this is a great, creative design. It is sure to save money and allow you to have fun at the same time
  34. makeup :
    That is so nice of you to share with everybody. This site provides readers with the essential information they need to make a smart online purchase. Creativity of a woman never stops especially when it comes to beautification such as makeup. I've learned that I could save up more if I go for the trusted brand and therefore eliminate risk. It sure is a good thing that my brand is available through online purchasing.
  35. Karen :
    I love this idea! This is a gift that would last a long time. Also, you could give it to a sewer or quilter for their marking pins, scissors, etc.
  36. Jar of Ideas :
    this was awesome -- thank you so much for sharing it!
  37. Simple Southern Momma :
    Here from "MADE"...great gift idea! Thanks for sharing!
  38. Lauren @ 31diy :
    Thanks so much for sharing! I've got to try this...like now! Love.it. :)
  39. jamesfrac :
    Nice post thanks for sharing this article..Lingerieit help a lot in increasing my knowledge about this.
  40. AnJayla :
    These are amazing! I am making a slew of them!! LOL I already have 6 going out to friends. Please check them out and tell me what you think!! Thank you so much for taking the time to do a tutorial! The directions are perfect!
    http://lewandowskiresort.blogspot.com/2011/09/make-up-brush-roll.html
  41. Jessica :
    Thanks for the great project! I just made my first one and I lined it with some plastic on the inside for easier cleanup of makeup residue and it worked out great! I need to adjust the size for my longer brushes on the next one.
  42. Leah :
    I made this and it turned out so great! Instead of drawing the lines on the fabric, I drew them on freezer paper and ironed it onto the fabric and followed that. Then I just pulled the freezer paper off!

Leave a comment

You may use these HTML tags and attributes: <a href="" title=""> <abbr title=""> <acronym title=""> <b> <blockquote cite=""> <cite> <code> <del datetime=""> <em> <i> <q cite=""> <strike> <strong>

  • Follow

  • About

  • Shop

  • Archives

  • Separator

  • Sponsors