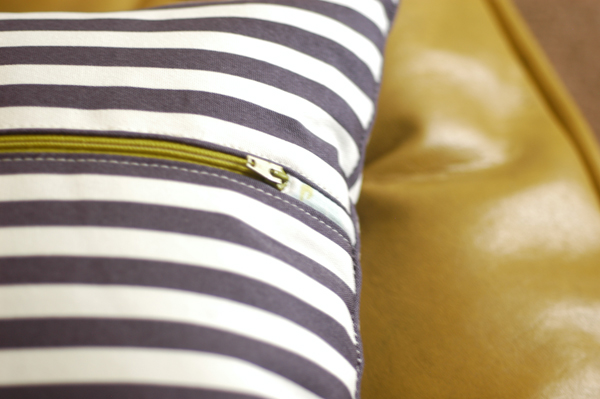
Pillow Tutorial: Invisible Zipper
I’m not going to lie, hidden zippers can be a little tricky. But not to worry my dears. I’m going to show you a trick or two. Because that is what I am here for, tricks.
Wait..that didn’t come out right…
This is part three in my three part series on making pillows, in case you missed it; envelope back pillow + exposed zipper pillow.
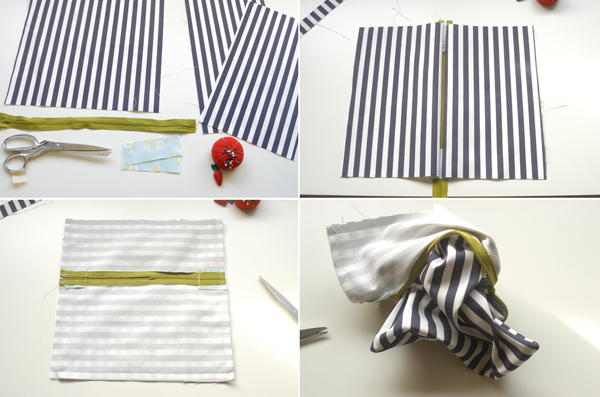
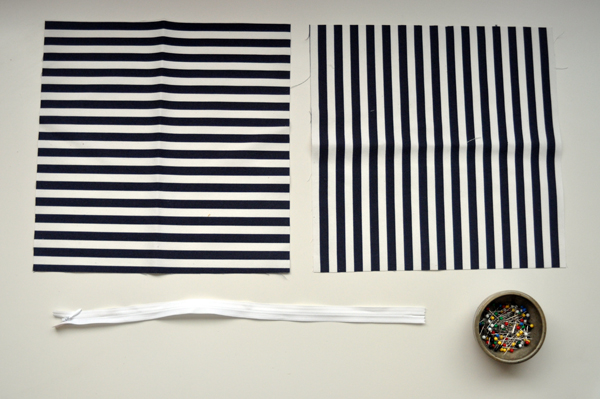
Materials needed:
Pillow form, (not pictured) for this tutorial I used a 12 x 12 inch form
One piece of front fabric, cut 12 x 12 inches
One piece of back fabric, cut 12 x 12 inches
Hidden zipper
One piece of front fabric, cut 12 x 12 inches
One piece of back fabric, cut 12 x 12 inches
Hidden zipper
Tools that are helpful for this project:
Sharp scissors
Pins
Sewing machine


Sharp scissors
Pins
Sewing machine
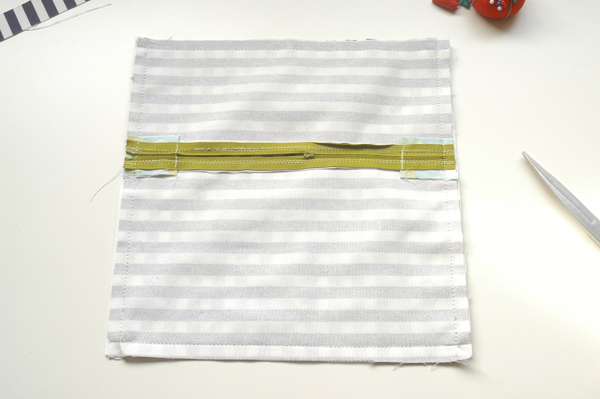
Begin by piecing your two pieces of fabric, right sides together.
Sew three sides of your fabric, leaving one side open.
You should be here.
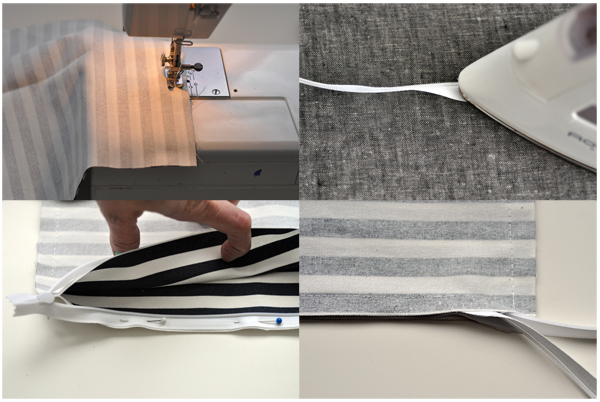
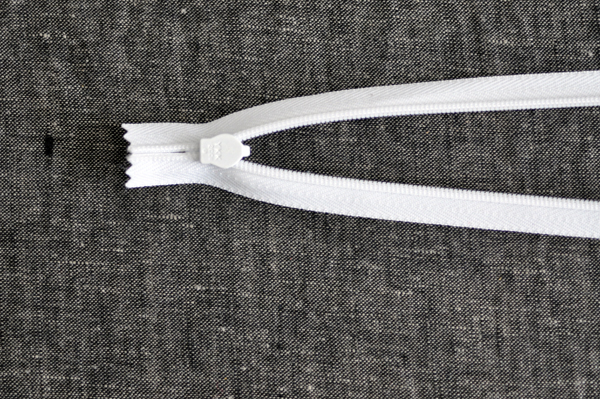
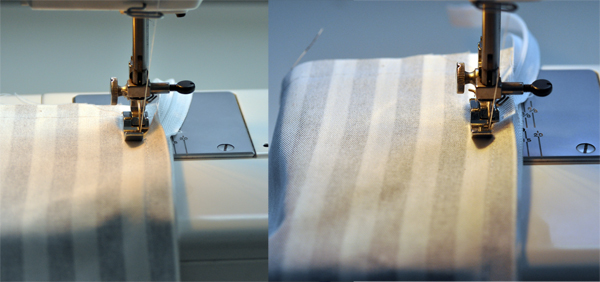
Then take your zipper, open it all the way.
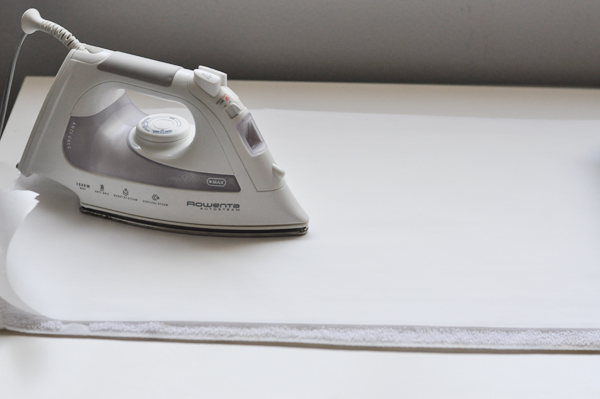
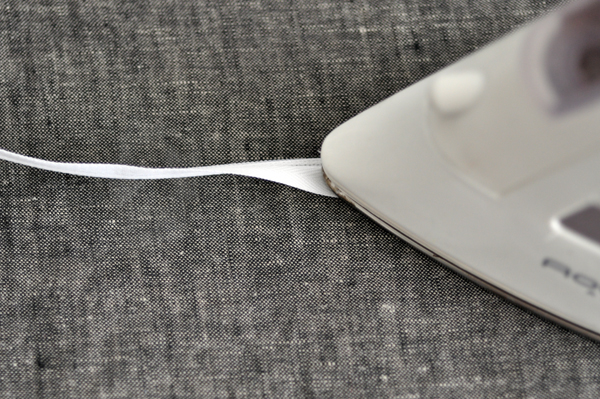
Iron the fold open.
The top zipper is pre-iron, the bottom zipper is post iron. You are ironing to get a closer stitch. You want to sew right where the fold is + by pressing the zipper open you are exposing the perfect place to stitch.
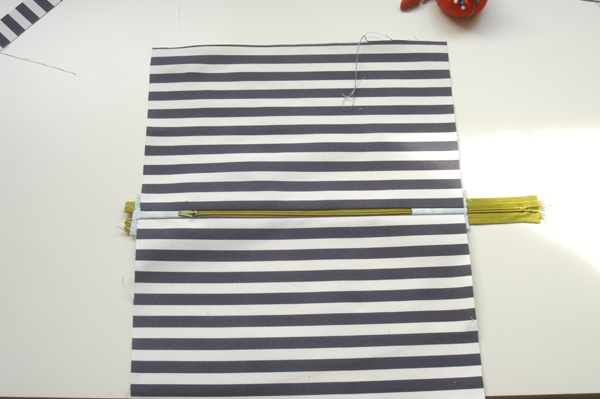
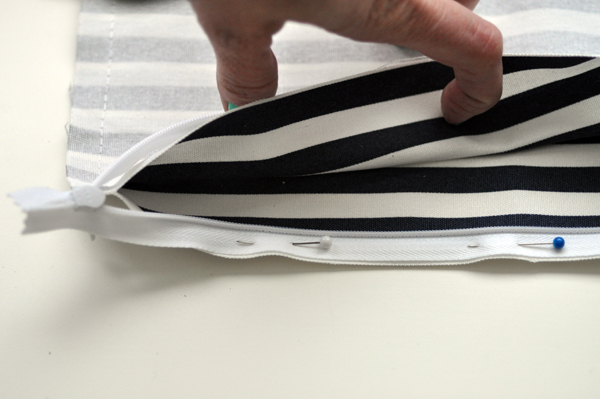
Pin your zipper to the fabric, right sides together, leaving a little zipper off each end.
Using a zipper foot on your machine, sew your zipper down. Start about an inch away from the end + finish the same. Sew both sides of the zipper.
Like so. You should have your zipper poking out each end.
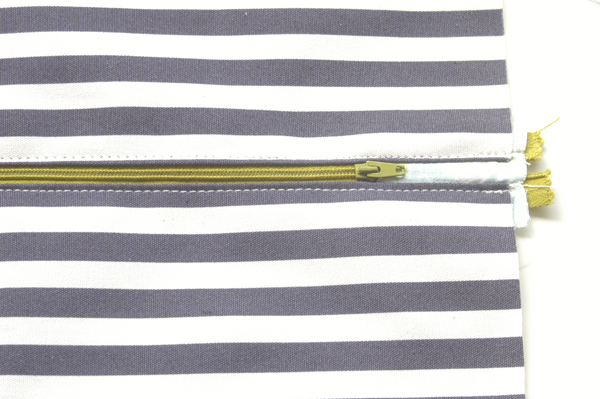
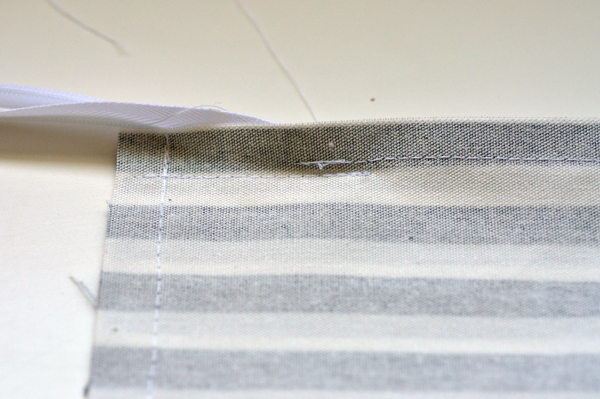
Beginning at the edge, sew just above the zipper stitch, closing your holes.
Like so.
Trim the ends of your zipper off.
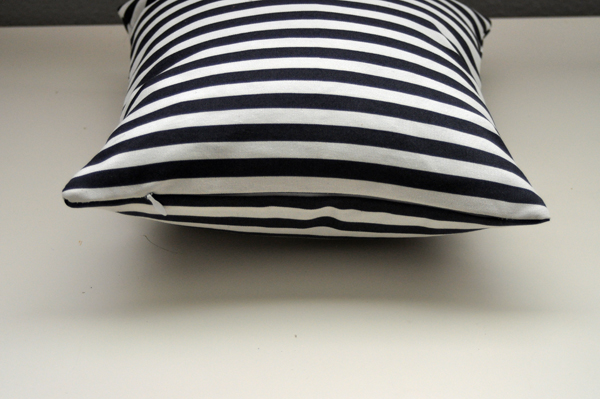
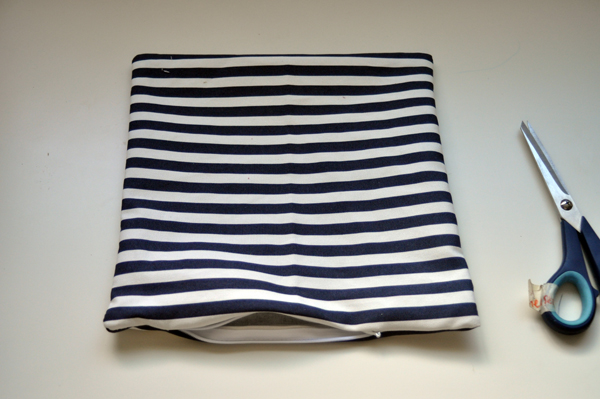
Turn + poke out your corners.
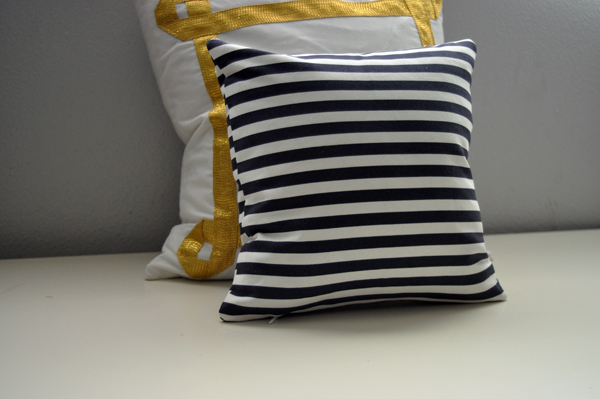
Stuff + admire your handiwork.